![NextMinute_Primary_White.svg]](https://support.nextminute.com/hubfs/NextMinute_Primary_White.svg)
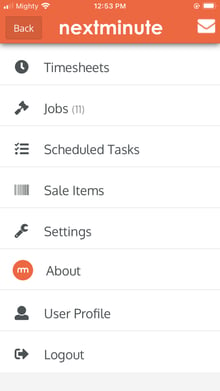
Step 1: Select Jobs
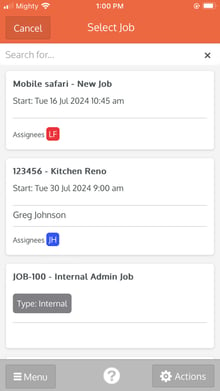
Step 2: Select the Job
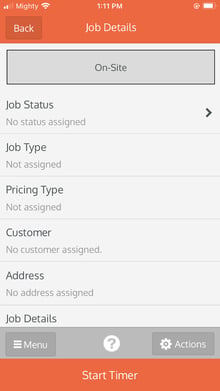
Step 3: Select Start Timer
Selecting the start timer will prompt you to to select the desired labour rate for work being done.
Step 4: Select the desired labour rate

Once a labour rate is chosen the Timer will start recording your time.

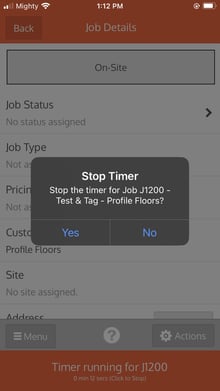
Step 5: Stop Timer
Touch the Timer button to stop the timer, you will be prompted to confirm that you want to stop recording time, select Yes.
 On stopping the timer, you can enter or change the work description, enter in a break if enabled and you can then save the time record against the job.
Step 6: Add a Description and Save

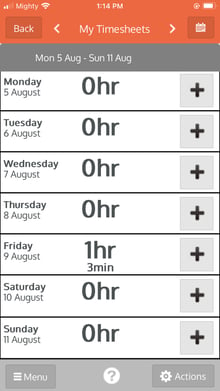
You can find the time saved against the timesheet along with a GPS stamp. To do this, go into timesheets, select the day you added time to, then select your new entry.
.png?width=220&height=391&name=IMG_0068%20(1).png)
As you can see below, the start and stop timer were captured on a map using the GPS feature. Select one to view on a map.
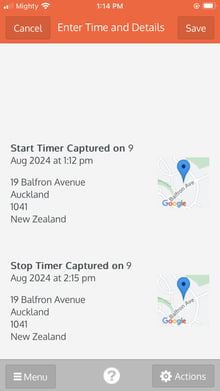
The location is shown on a map where the timer was used and the job details assigned against.